Skeletonizing / Hollowing A Splitter Out for Weight Reduction

So per my C5 Corvette Weight Loss Article, I am trying to drop weight on my C5 corvette, and a fair bit can go off the front to better balance out the car. One area of rather sizable weight up front is the splitter.
My splitter is rather tanky. It's 3/4 Plywood, and not some lightweight species or anything fancy like that. It's just a big old slab of 3/4 plywood from Lowes.
Now, this is a pretty common approach for lots of folks. Splitters get chewed up. If they go off track, if you bottom out, if your spring rates aren't stiff enough... whatever the story these contact the ground a lot, so many folks just throw a slab of wood at it and it is what it is. Some folks use expensive material like Alumalite, or do their own carbon fiber splitters, or if they've got the disposable income buy a premade splitter in some very light weight combination and coating... but generally, they're just big slabs of plywood.
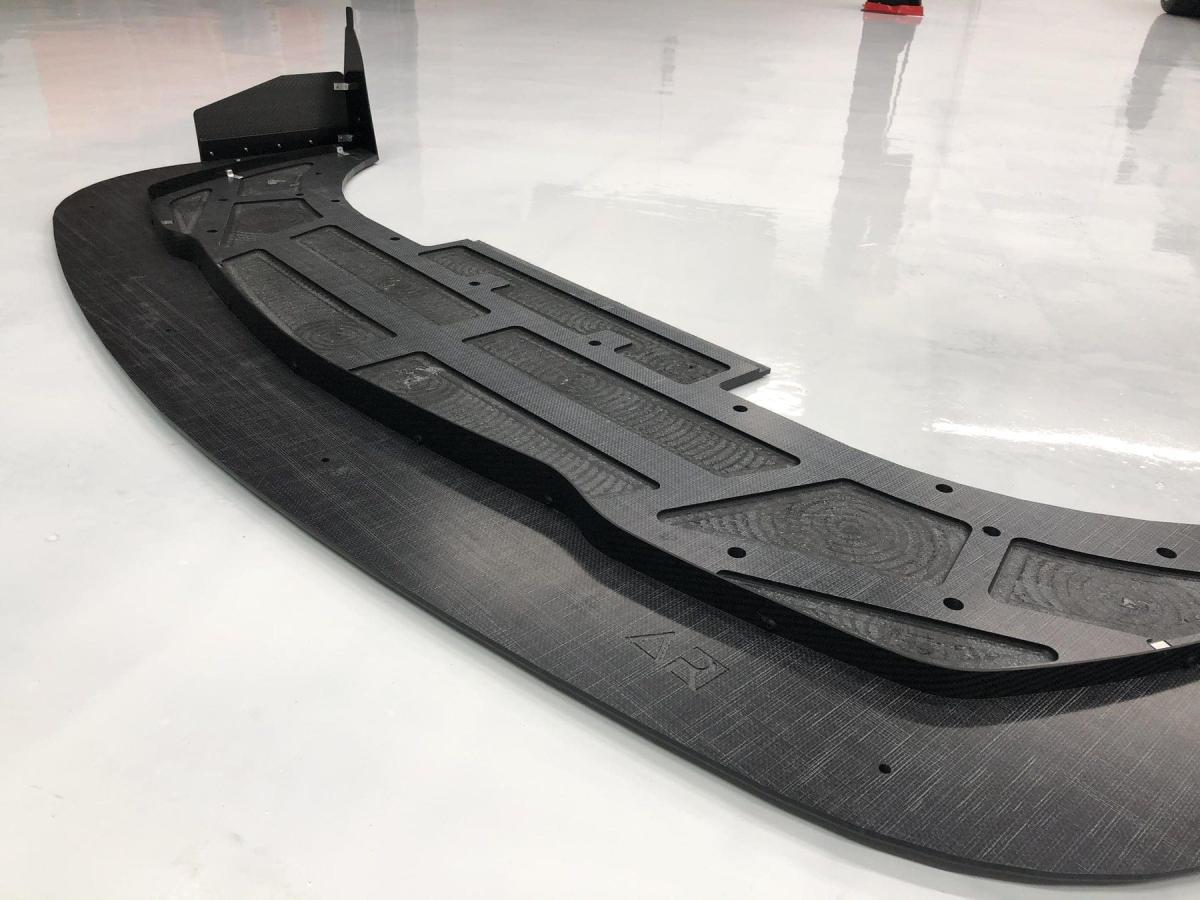
A picture I saw recently while randomly cruising the internet though showed me an alternative. You could cut out non stressed sections of a sheet of plywood to reduce weight. Leave the areas where the air contacts smooth however. The idea seemed simple enough, and doesn't increase production cost much if anything, it's just a few extra days of work! So I set out to try it for myself.
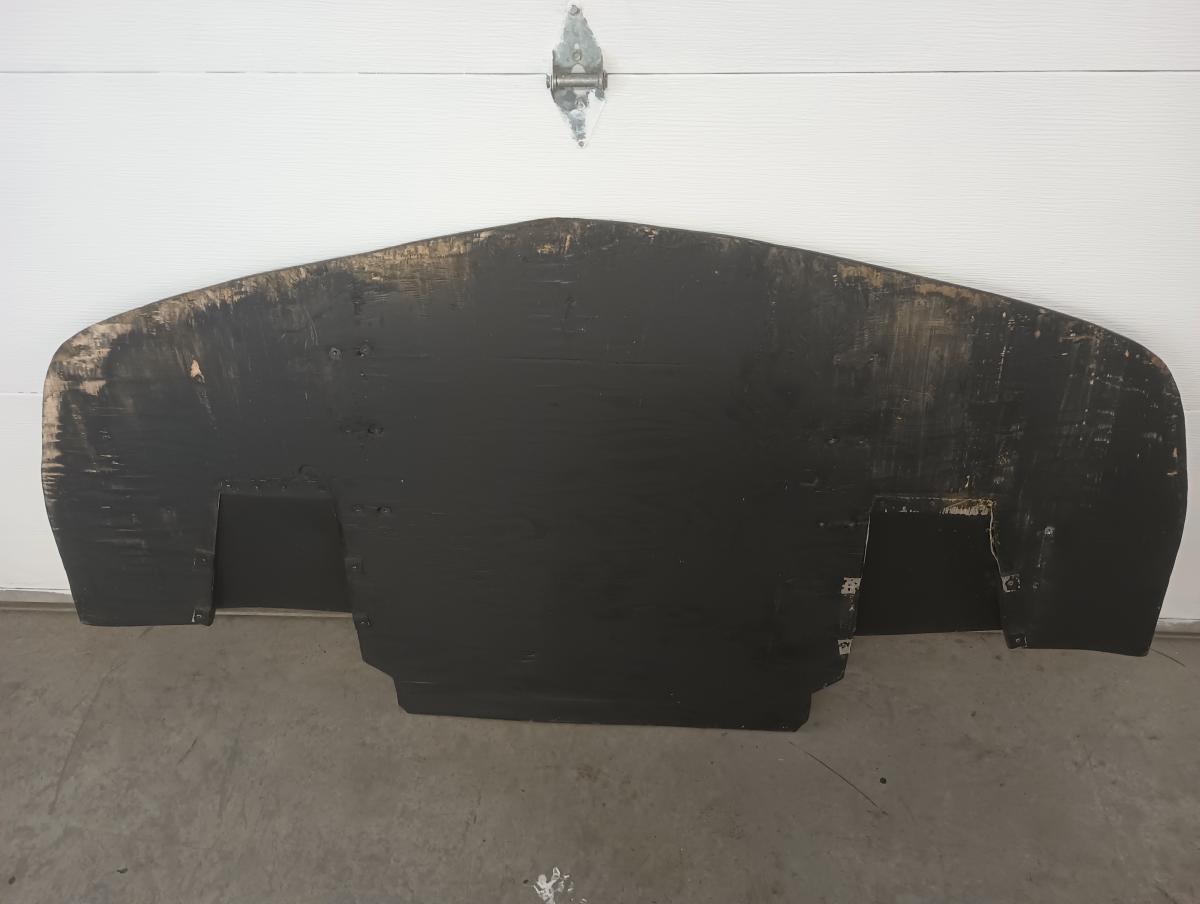
So I started by pulling the splitter off my C5 and leaning it up against my garage door to take a gander at. Here you can see the wear on the splitter over the course of 16 track days. Much of the wear comes from entering and exiting my driveway, along with some recent off track grass cutting endeavors at the time attack event at Thunderhill West. Plus I had to drop to 295/30 tires from 315/30 so I dropped a bit of height as well resulting in ground contact. Still, knowing where the splitter contacts and doesn't contact helped enlighten me as to where I should and should not pull material out of the hollowed out splitter.
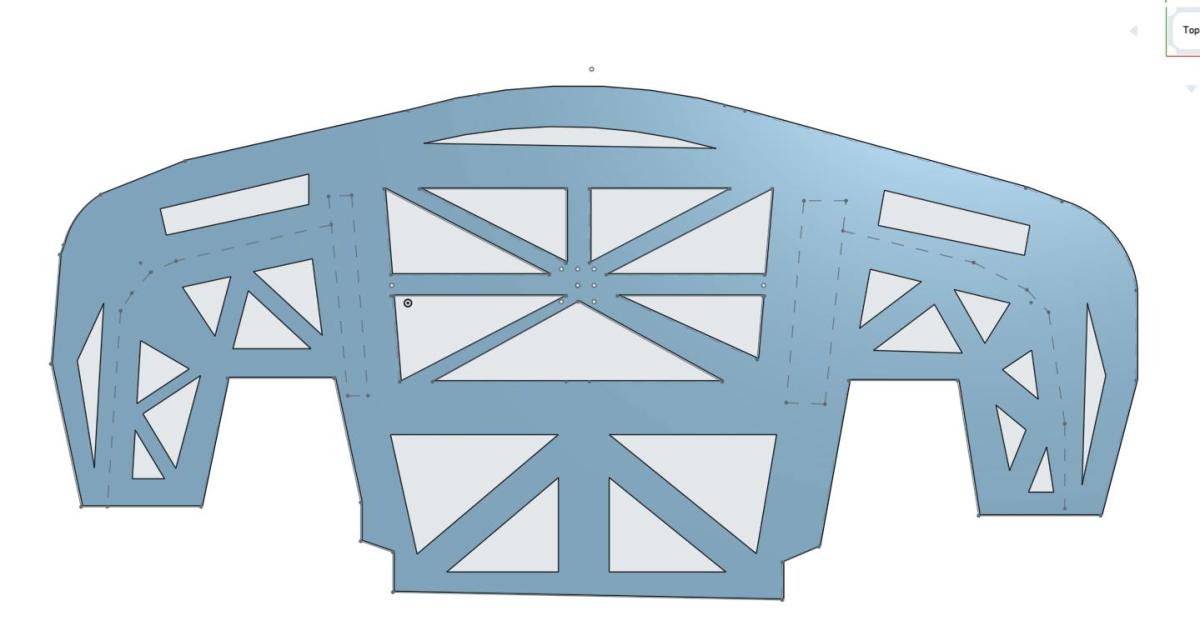
Next up, I imported the image into OnShape and did a general CAD sketch around the design to capture the shape. An STL file from 9LR would have been nice but I didn't hear back from them on getting a copy. No worries though, this allowed me to make my own, and I could trace the general concept onto the design. The above is what I came up with as a general concept.
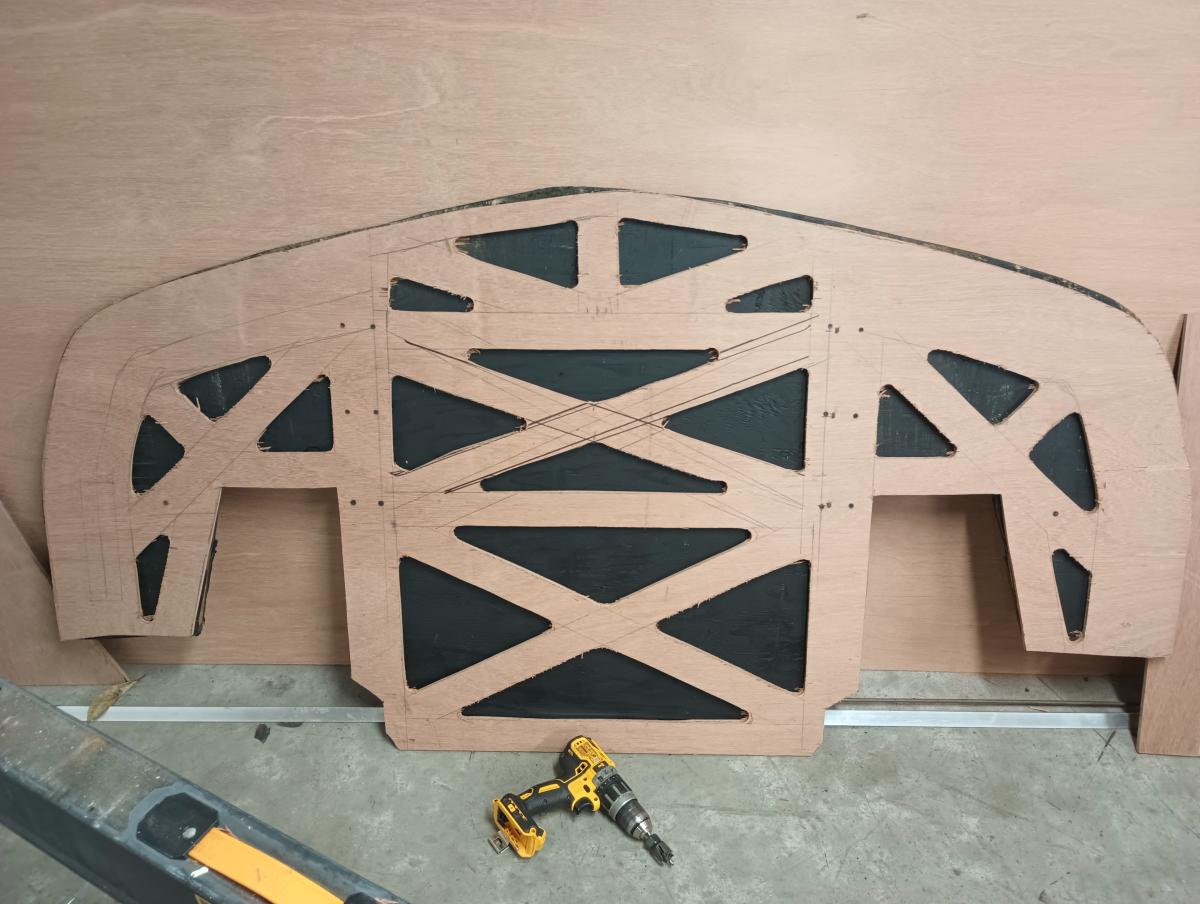
So with the general idea in mind I source some materials and got to drawing. I don't have pictures of me shopping for plywood or if the miserable mess of pencile drawings I initially began with... but the concept goes I went and bought 3 sheets of Marine Grade Plywood, a 3/8" sheet, and two 1/8" sheets. This gives me a thickness of 5/8", with the 3/8" sheet being used for the skeletonized core and each sheet of 1/8" plywood sandwiching it to give it a solid exterior for air to flow over. I then traced the old splitter onto the 3.8" sheet, cut out the perimetter, and got to measuring out some triangulation to cut out. The above is what I came up with and cut out.
The process of cutting out the various rounded bits was easy. I took a small hole saw (3/8" I think) for the corner pockets and a big hole saw (2" I want to say) and used them to create the rounded edges of each corner. Then, I just took a jigsaw and it down the lines between everything. Pretty simple really!
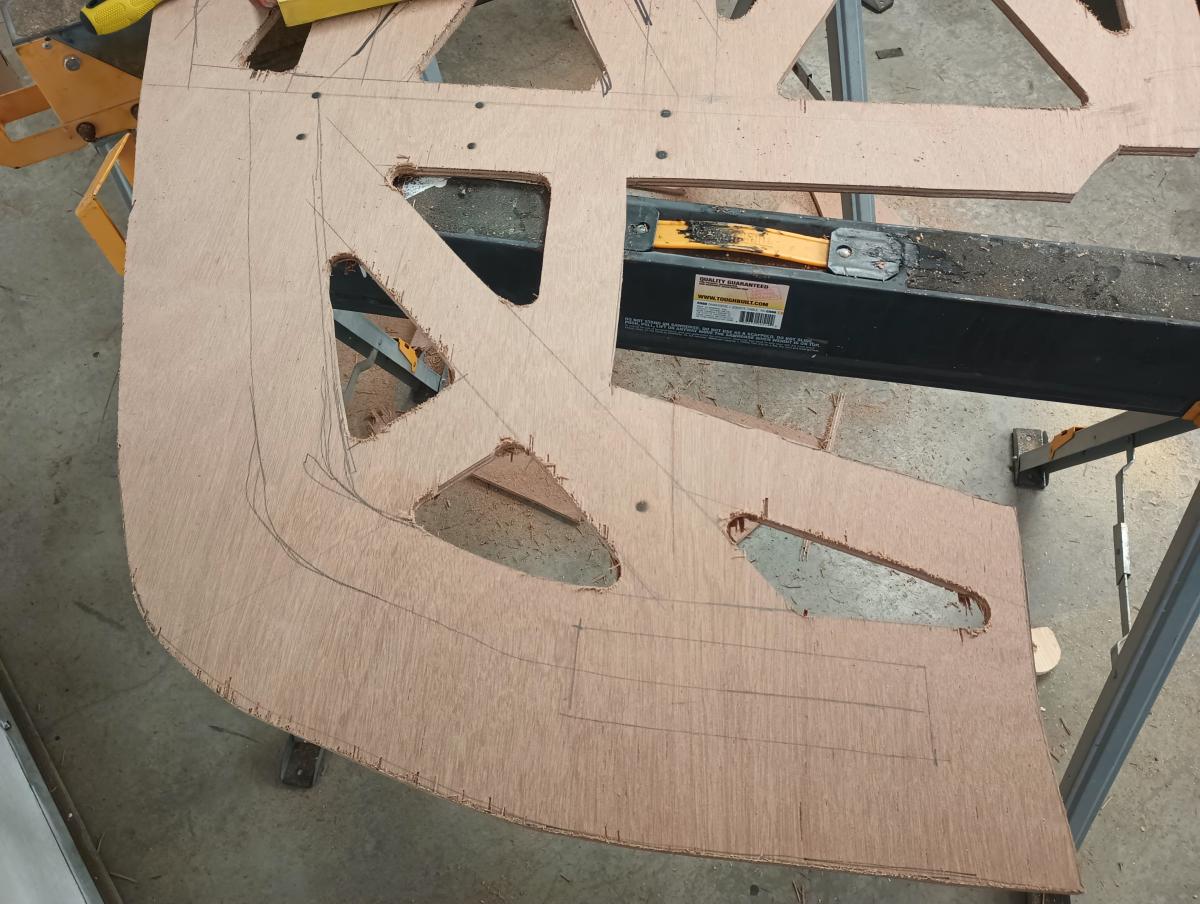
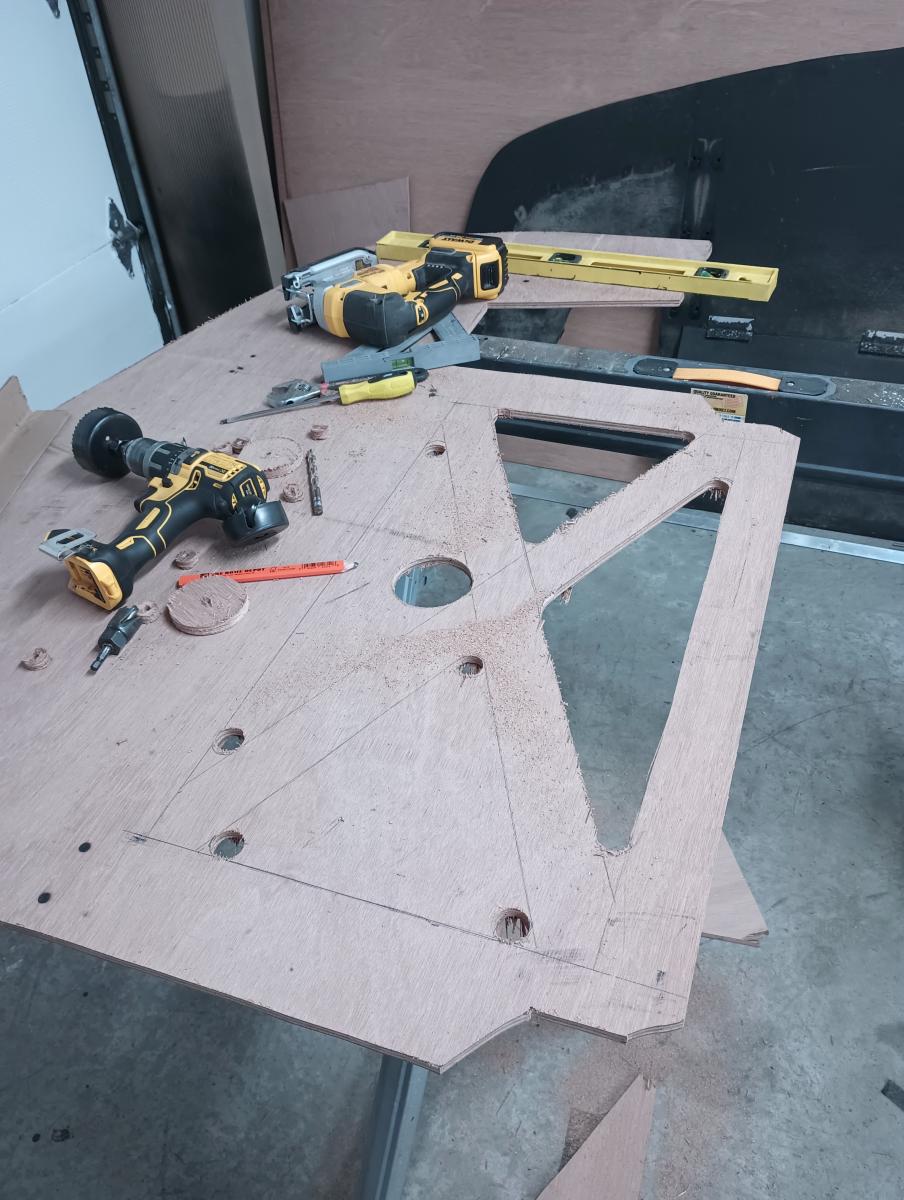
Here's a closer picture of how the sides wound up. I did a few ballpark approximations, used a few random bits I had around for determining width such as a long 2.5" wide level, and then cut out the areas that weren't in a high wear location nor where the air dam or mounting bits would go.
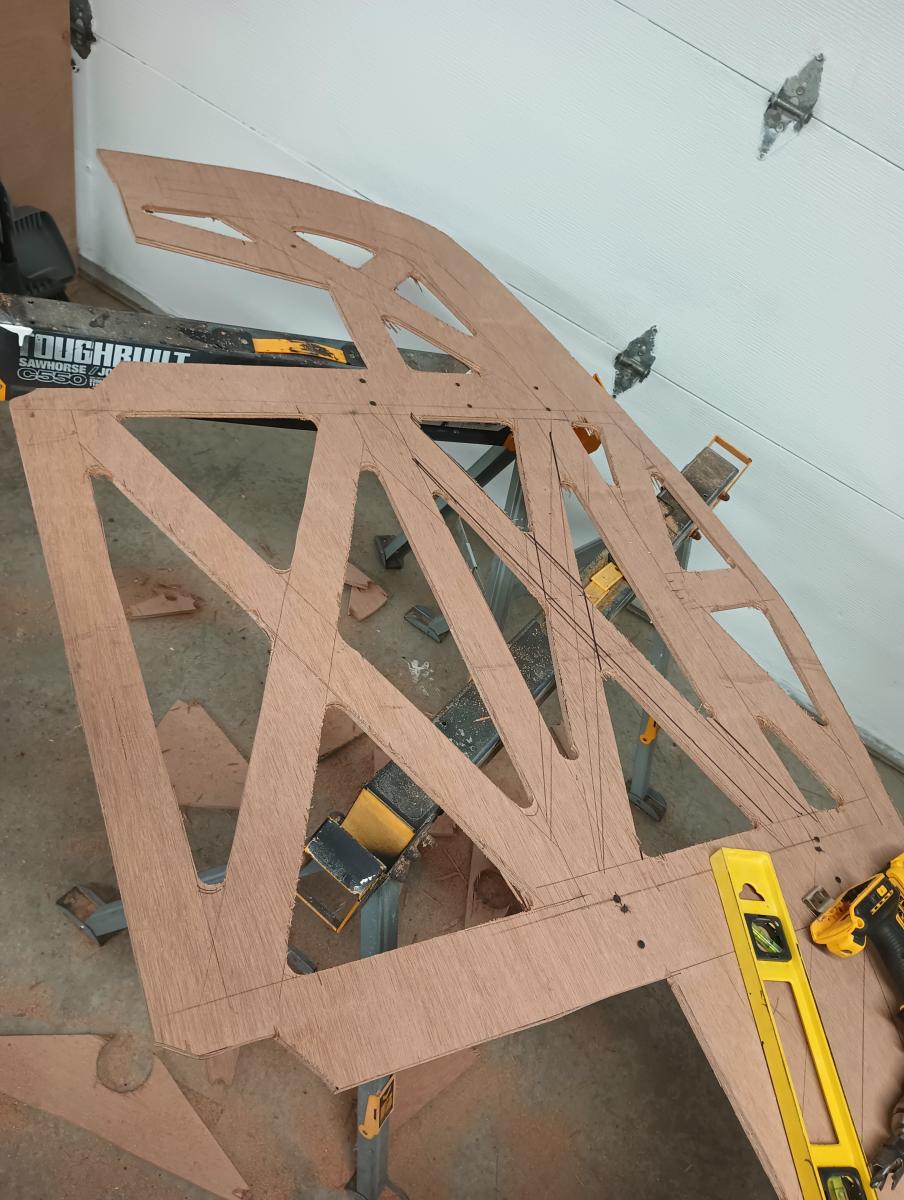
Here you can see the mostly complete sheet of cutout plywood. This reduced a significant amount of surface area!
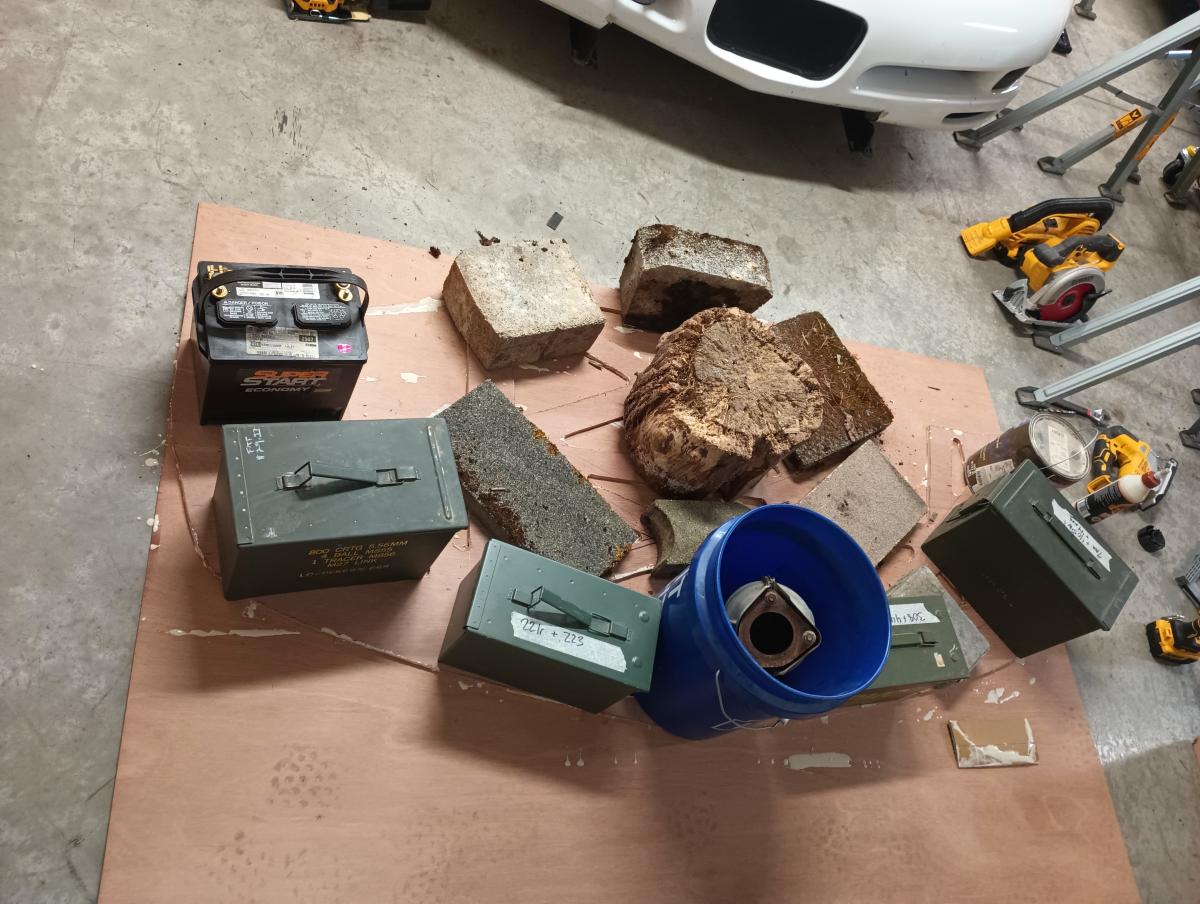
With the sheet finally cut out, the next step was glueing the center 3/8" skeletonized frame to one of the 1/8" top sheets. I liberally applied an excessive amount of Gorilla Glue ultimate water proof wood glue, set the 3/8" sheet on the 1/8" sheet, and then proceeded to pile every heavy random item i had around to help ensure the glue would take hold.
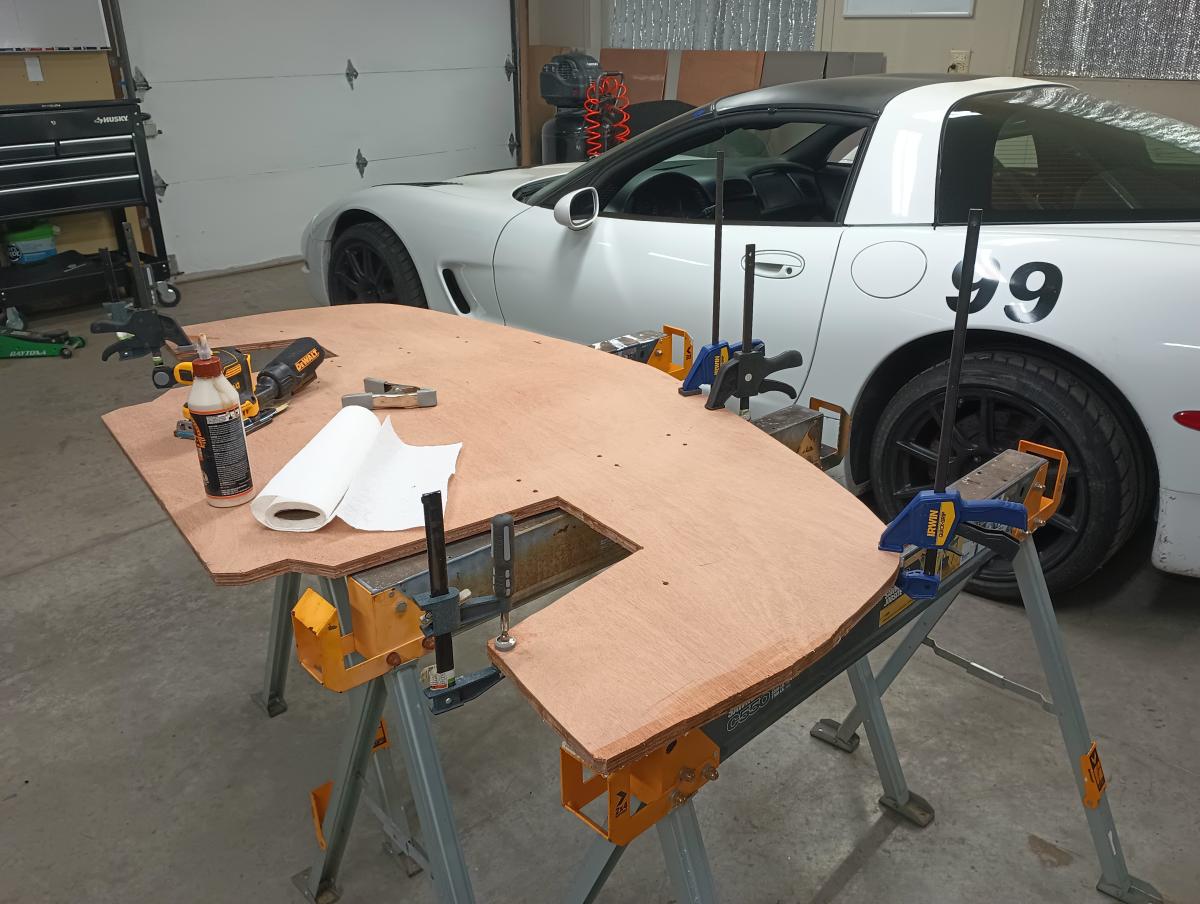
I let this sit for 24 hours, and then cut it out. Cutting was easy. Use a reasonable sized drill bit to put holes at any location where you will need to rotate the jigsaw blade. Then just run the jigsaw blade along the perimetter of the 3/8" sheet while cutting the 1/8" sheet! Once this is done, you'll want to check along the perimitter for any areas that aren't prefectly glued down. I had a few areas where there were gaps. To resolve this, I simply pushed a bunch of wood glue into the gaps and then let them sit clamped overnight as pictured above.

Next up was painting the splitter. I just bought a quart of Rustoleum flat black paint and applied it with a roller as that's what I had around. Turns out... it came out great and gave the splitter a really nice texture. You'd almost think it was truck bed linered!
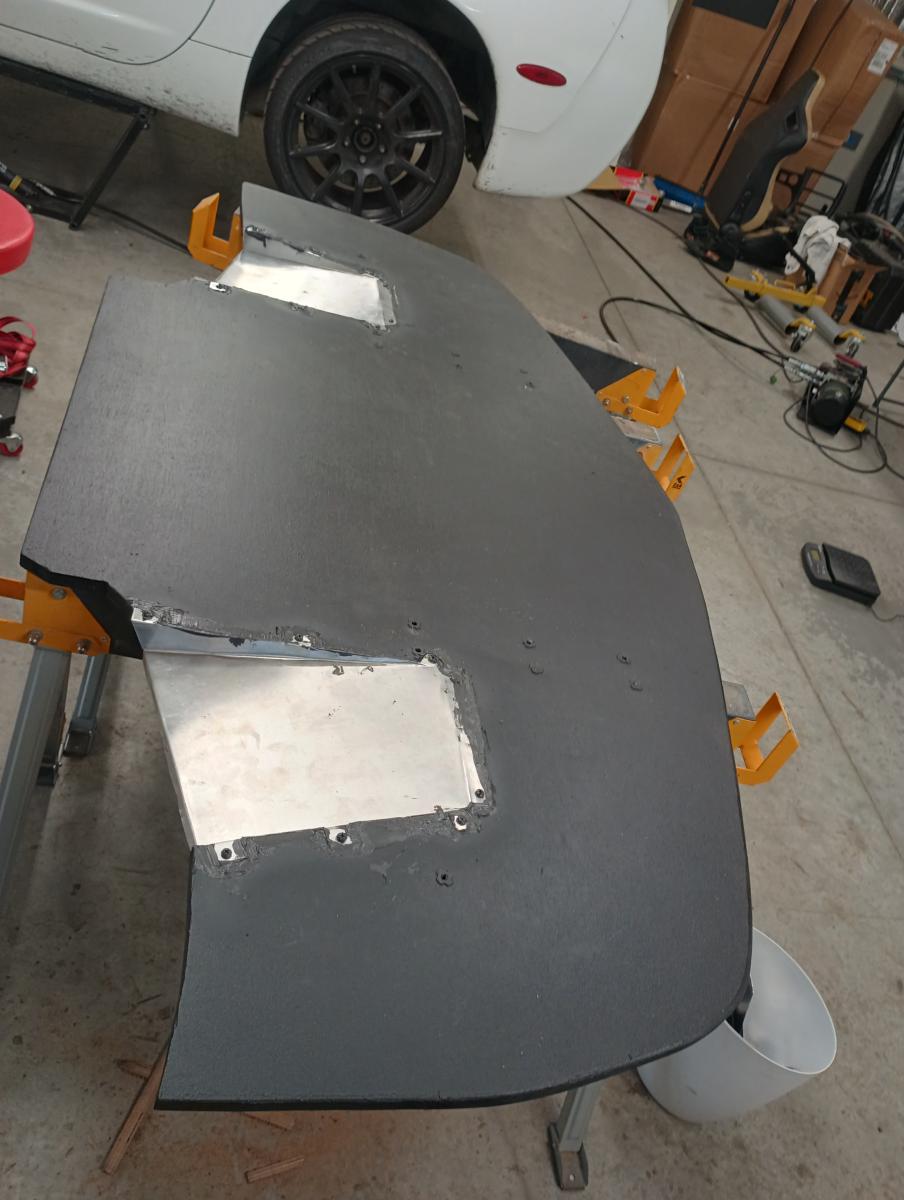
Lastly, was adding the hardware and building splitter ramps. I went slightly bigger on the splitter ramps this round along wtih added a bit of extra material at the end with a slight bend to it to help stiffen up the ramp. It worked out great, and in the end the splitter looked vastly superior to the old one.
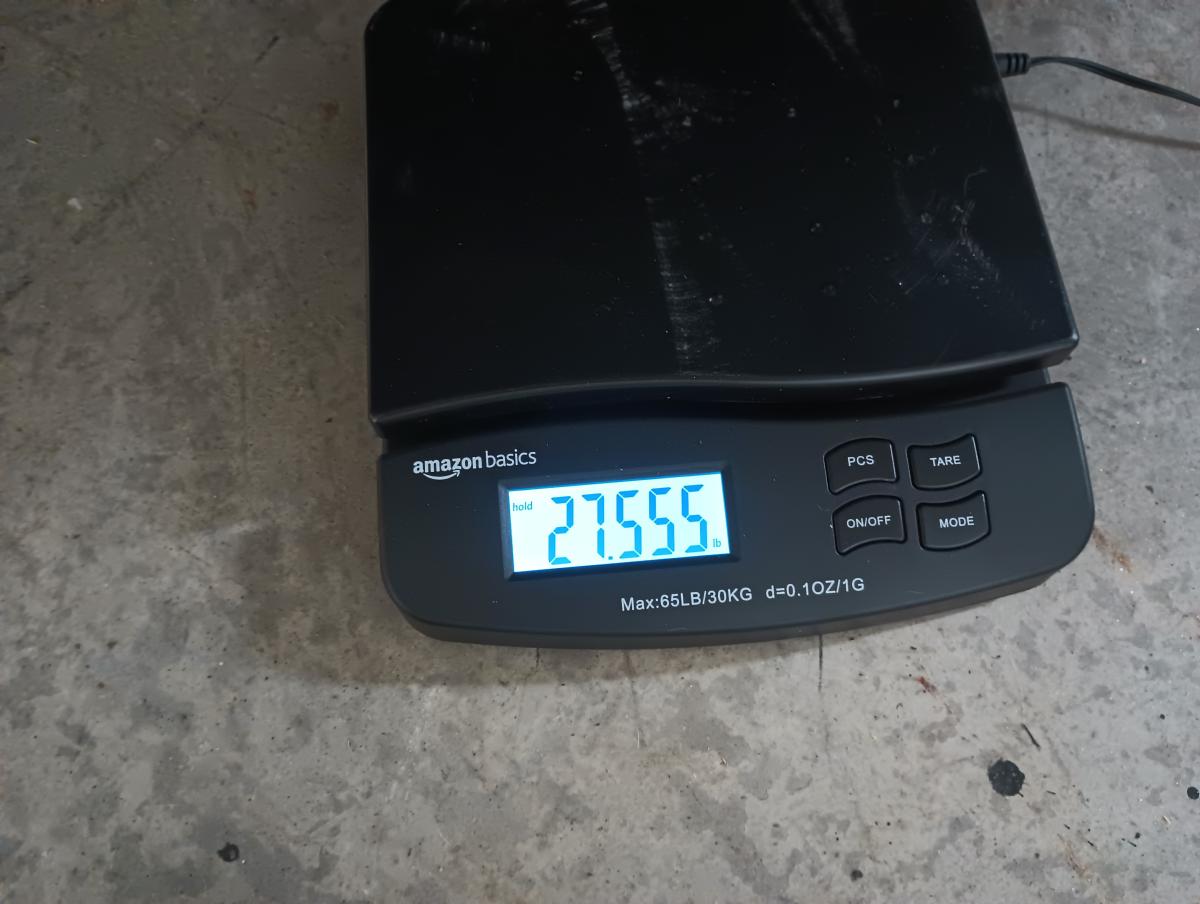
So now the splitter is complete and... what was the verdict on it's weight?
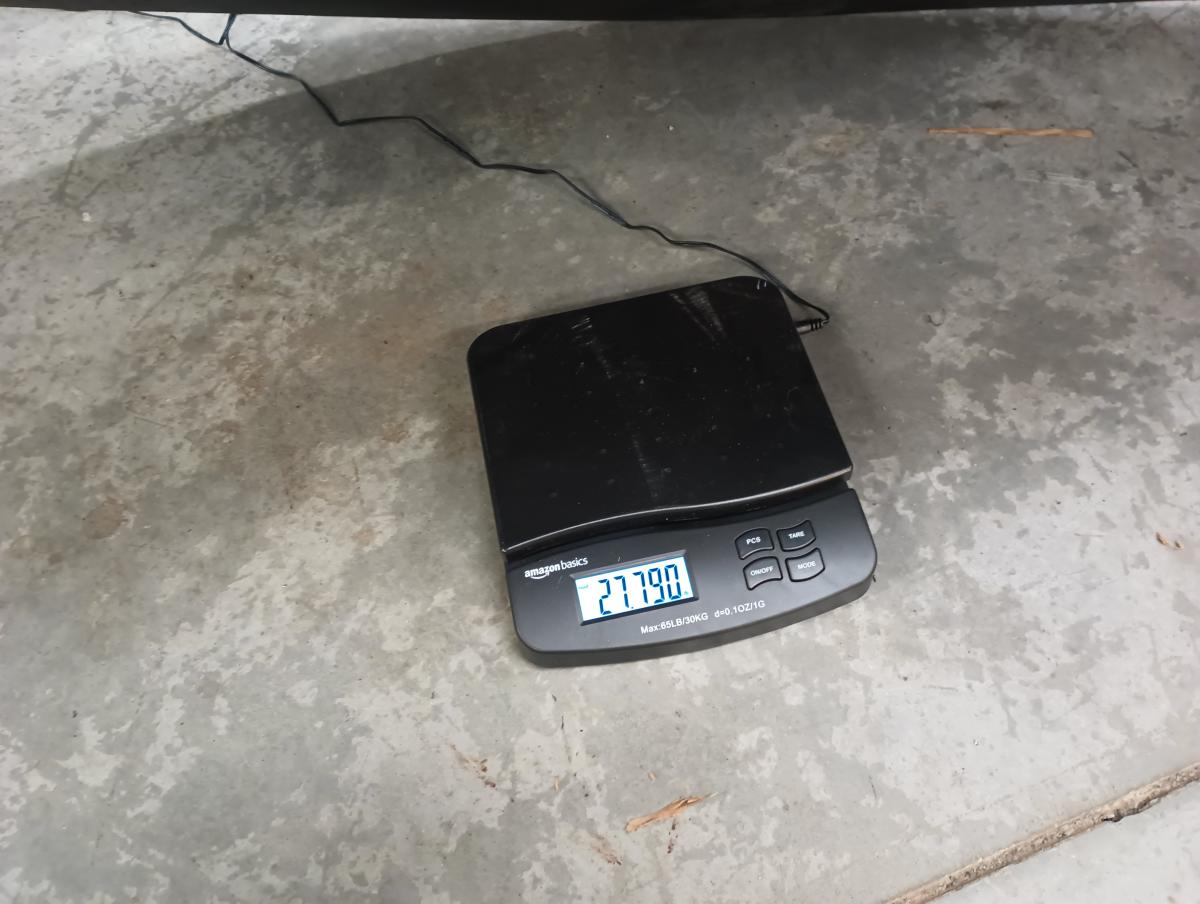
27.79lbs all said and done. A quarter pound heavier! DOH! I attribute this nearly entirely to the new wood being a much more robust marine grade plywood.

Ah well. What I didn't gain in weigh savings I surely gained in getting a much better looking splitter than I had started with in a far more robust material, so overall... I'm calling it a win!